Skip to main content
Skip to footer
Get Started
Search
Menu
What can we help you find?
Search
Search
Resources
Ask Canyons
A-Z
Board of Trustees
Directory
Online Learning
Campus Life
Schedule of Classes
Catalog
Campus Maps
Events
Just for you
Students
Community
Employees
Close
My Canyons
Canvas
Get Started
About
More About Links
Accreditation
Campus Maps
Canyon Country Campus
History
Mission
Academics
More Academics Links
Program Mapper
Schedule of Classes
Catalog
Admissions & Aid
More Admissions & Aid Links
Admissions & Records
Dates & Deadlines
Tuition & Fees
Welcome Center
Financial Aid & Scholarships
Community
More Community Links
Athletics
Events
Foundation & Giving
Performing Arts Center
Student Support
More Student Support Links
Counseling
Library
Tutoring and Learning Center
Welcome Center
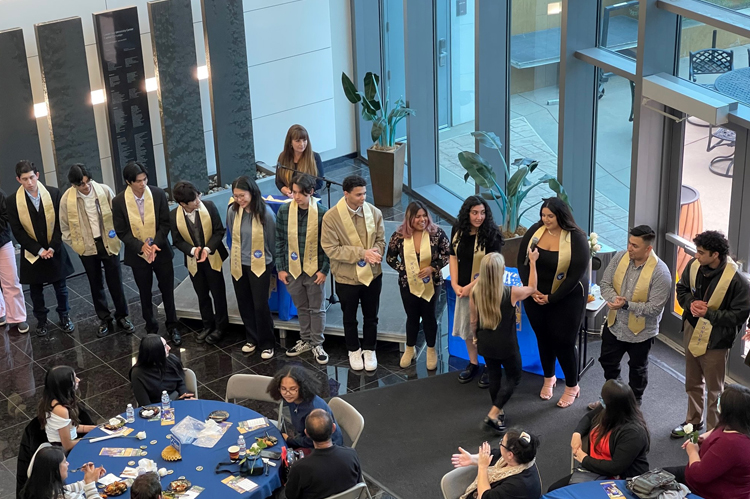
Photo Gallery
Photo Gallery
Home
>
Academics
>
Honors Academic Program
>
Phi Theta Kappa Honor Society
> Photo Gallery
Officers
Membership
Photo Gallery
Contact Us
Photo Gallery

 Resources
 Campus Life
 Just for you


 My Canyons
  Canvas