Photo Galleries
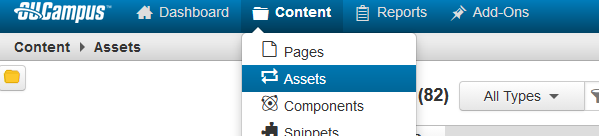
Photo galleries are inserted by creating an Image Gallery asset and then inserting that asset on a page. First, hover over the Content menu and choose Assets.
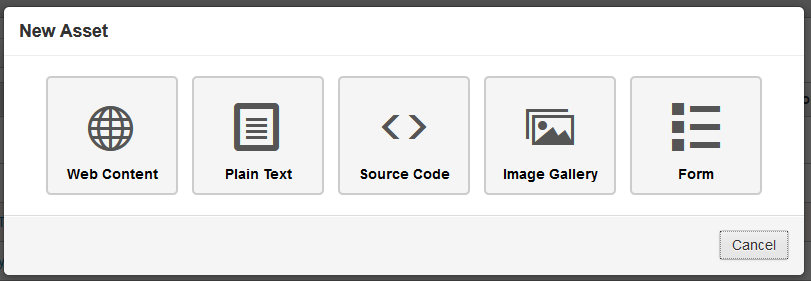
This will open the Assets listing for Omniupdate (OU). Click on the New button and select the Image Gallery button. Alternatively, you can select image gallery from the drop-down selector by clicking on the arrow part of the New button.

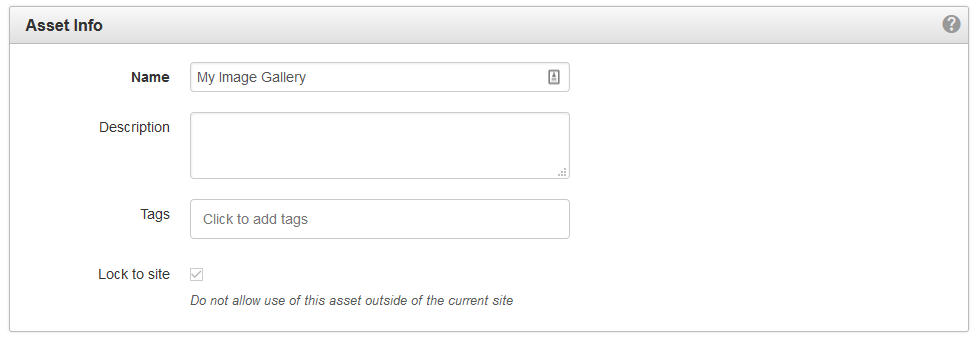
The Asset information screen will appear. Enter a unique name for the asset. This should be descriptive enough that you and others can differentiate it from other campus assets in the system. You may wish to enter a Description of the asset and assign it OU tags, but these fields are completely optional.
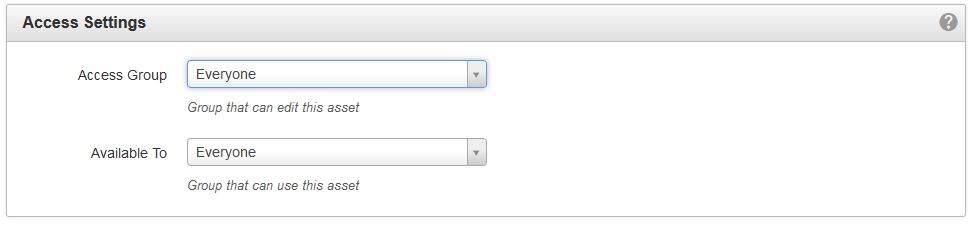
The Asset Settings section must be setup for your asset. Asset Group is who can edit an asset and Available To is who can actually insert the asset on their pages. Consider both and complete as necessary. Do not leave "Everyone" as the selected options for this section.
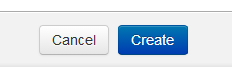
Navigate to the bottom of the page and click the Create button
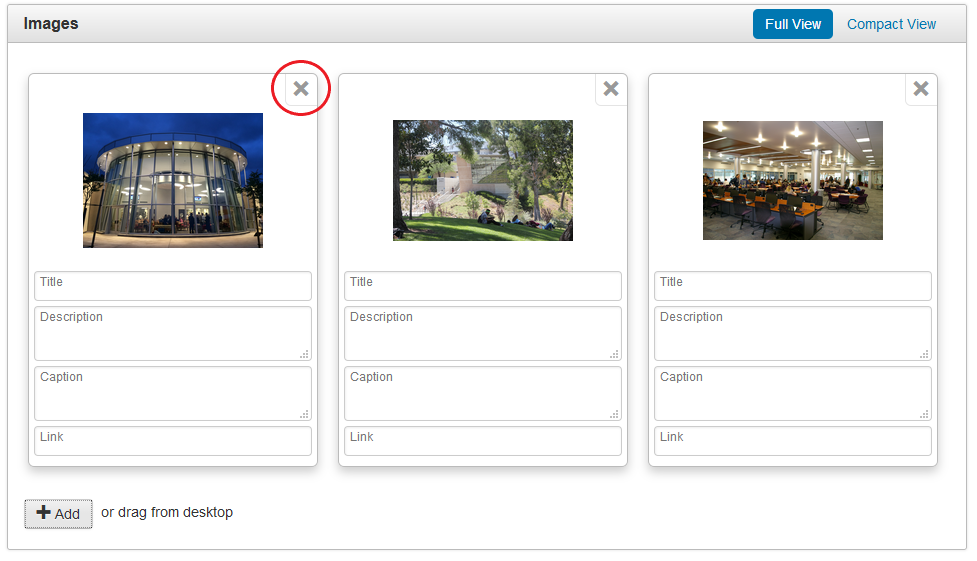
A new section for images will now appear. You may either drag and drop images to this section, or you can click on the Add button. Either way, you must select the photos you would like to appear in your gallery from your computer.

Once added, OU will display the images inside the asset creation screen.
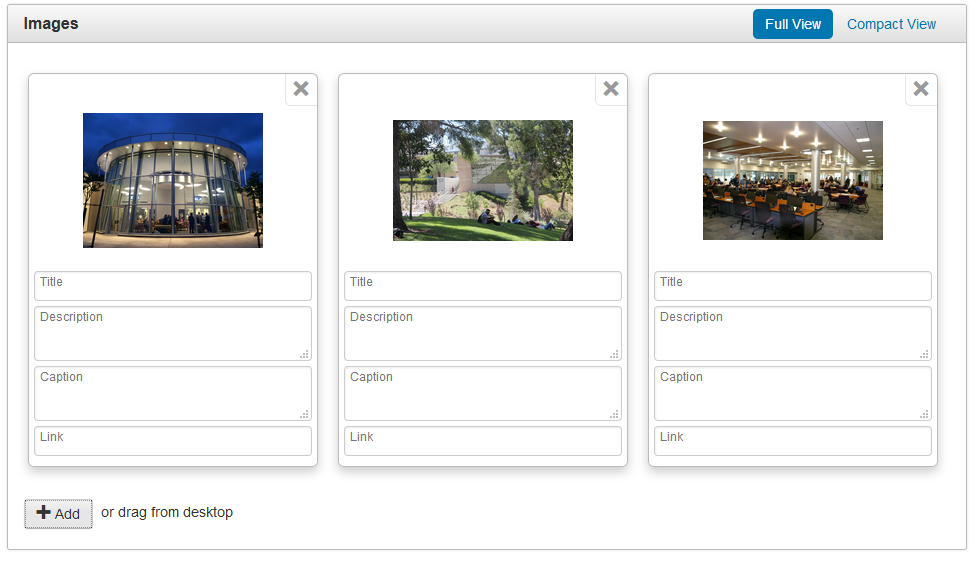
You must enter a Description for each image. This is the Alternative text that aids assistive technology. The Title and Caption fields are optional. They are useful to give users more information about a photo in the gallery and appear below a photo when it is clicked on. Link is not used.
If you need to add additional images, you can always drag and drop additional images, or click the Add button again, and select more from your computer. You can also reorder the images by grabbing the image you would like to change and dragging it to the position you would like it to appear in. If you wish to remove an image, just click on the delete button.
Once all images are setup, click on the Save button.
Publish the gallery by clicking the Publish button so that it can be inserted on your page. If you do not publish the gallery, it will not appear in your page properly.
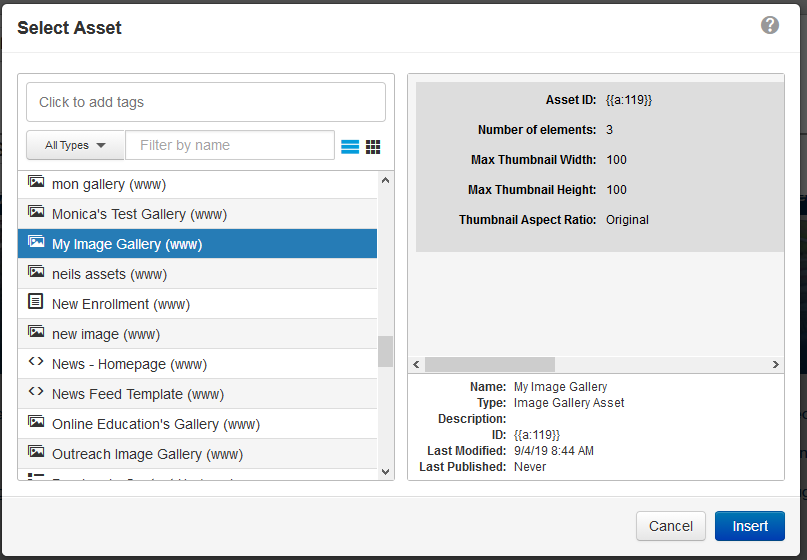
After the gallery asset is created, it must be inserted on a page to be viewable by the public. Navigate to the page you would like to insert your new image gallery on and check it out. When in edit mode, click on the insert asset button.
Select your gallery you created earlier, and click the insert button.
The asset will show on the page as a green bar. It will not show until the page is saved or published.

Finally, publish your page.
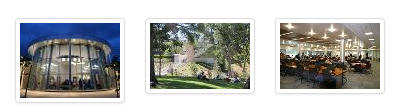
Your gallery will now display on your page.