 Resources
 Campus Life
 Just for you


 My Canyons
  Canvas

Working with Tables
Pasting tables directly from Microsoft Word or Excel will cause accessibility/W3C errors. They can, however, be cleaned up and brought into Omniupdate.
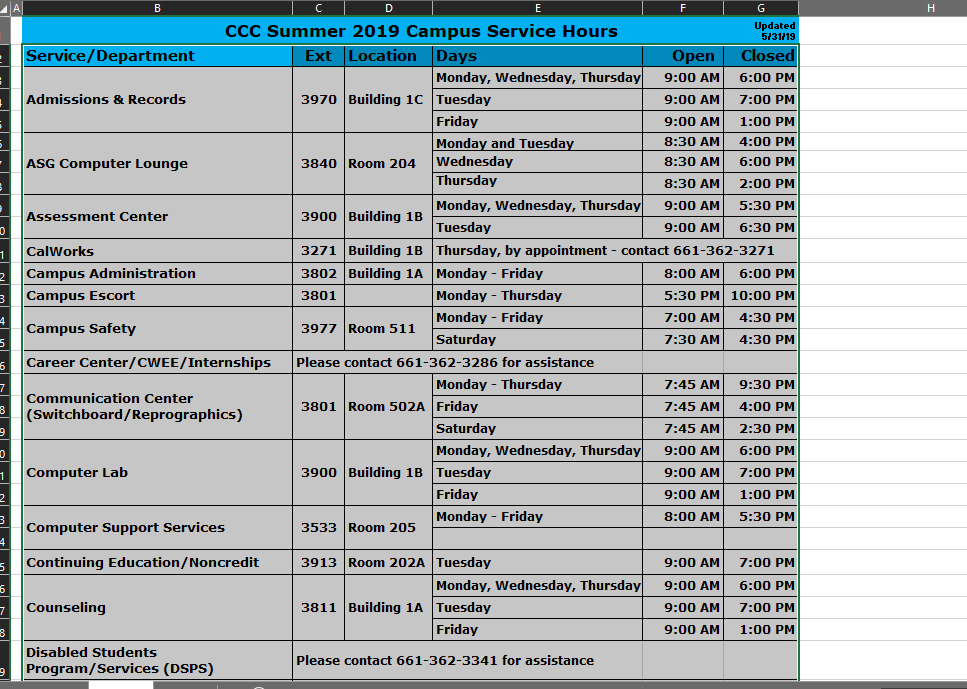
Step 1: Copy Table into Microsoft Word
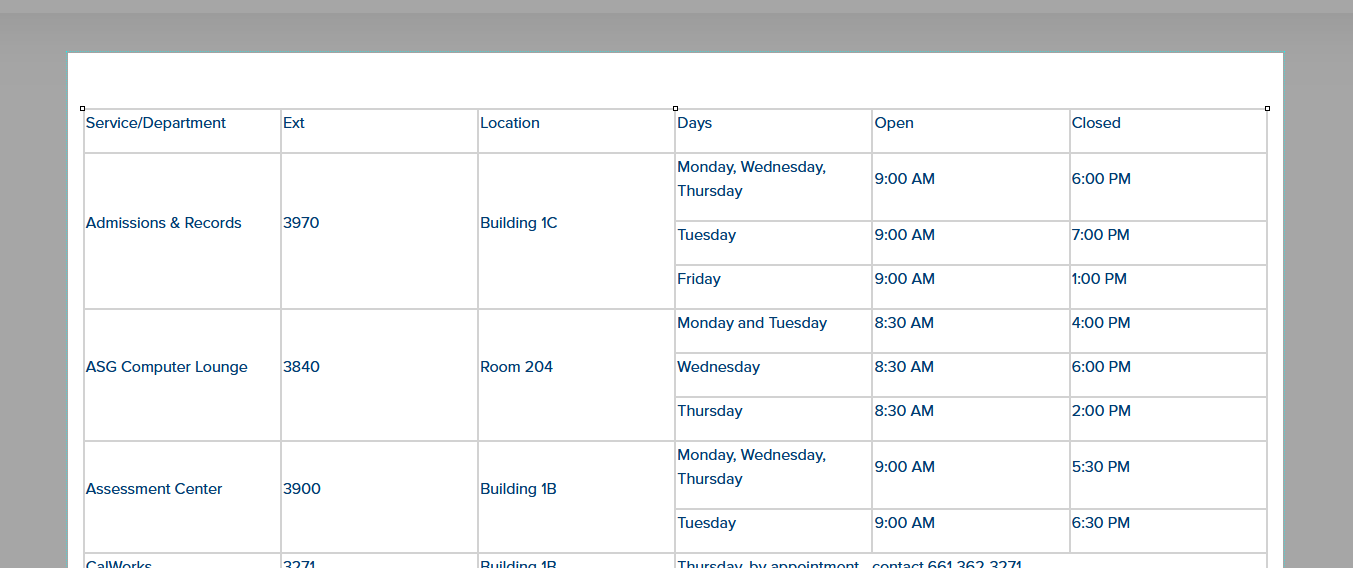
Copy the table from Excel into Word. You can skip this step if it is already in Word. ONLY copy the table and header row. If you have a secondary header, DO NOT copy it. You can instead type this header directly above your table inside the Omniupdate editor.
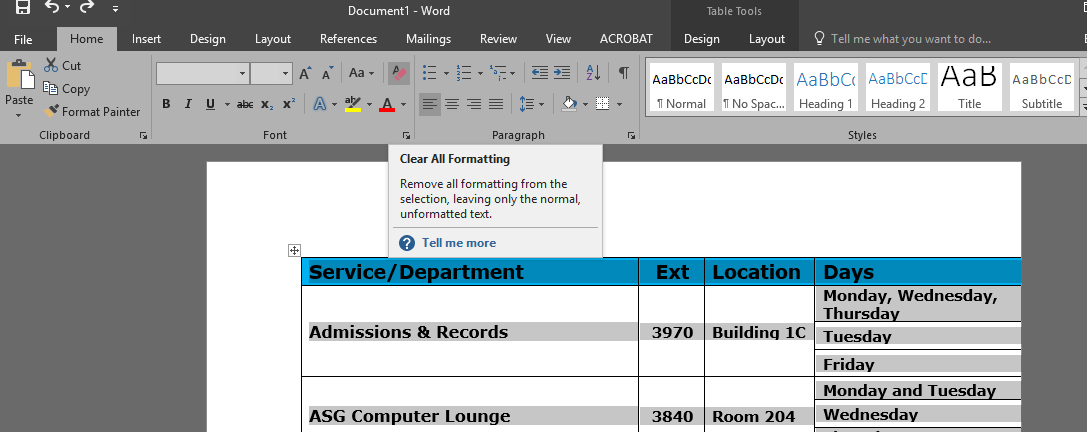
Step 2: Clear Formatting
After the table has been pasted into Word, highlight the table and click the Clear All Formatting button.
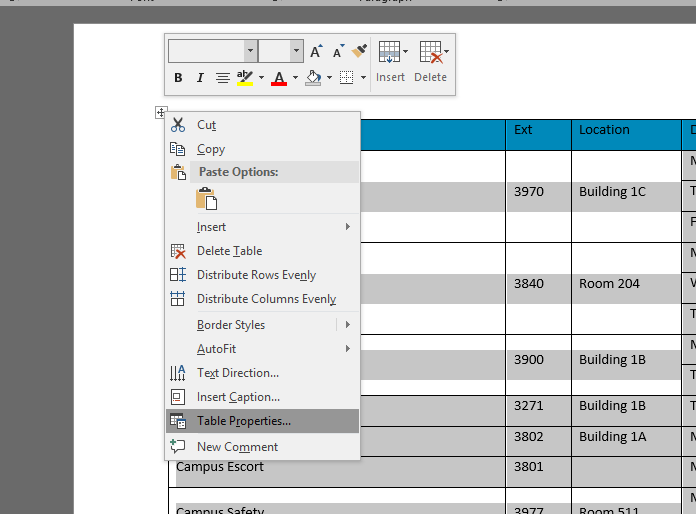
Step 3: Unset Widths and Heights
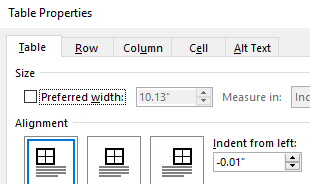
Right-click on the table, and choose Table Properties.
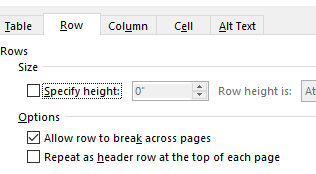
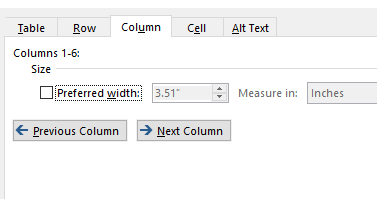
Within the table properties window, uncheck the Preferred width option in the Table tab, the Specify height option in the Row tab, and the Preferred width option in the Column tab.
Step 4: Copy Table into OU
Copy the table from Word into an Omniupdate content region.
Step 5: Set a Header Row
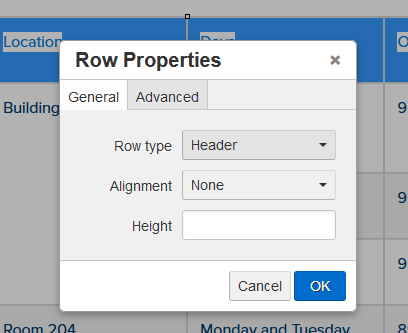
Highlight the header row, right-click on it, and choose Row and Row Properties.
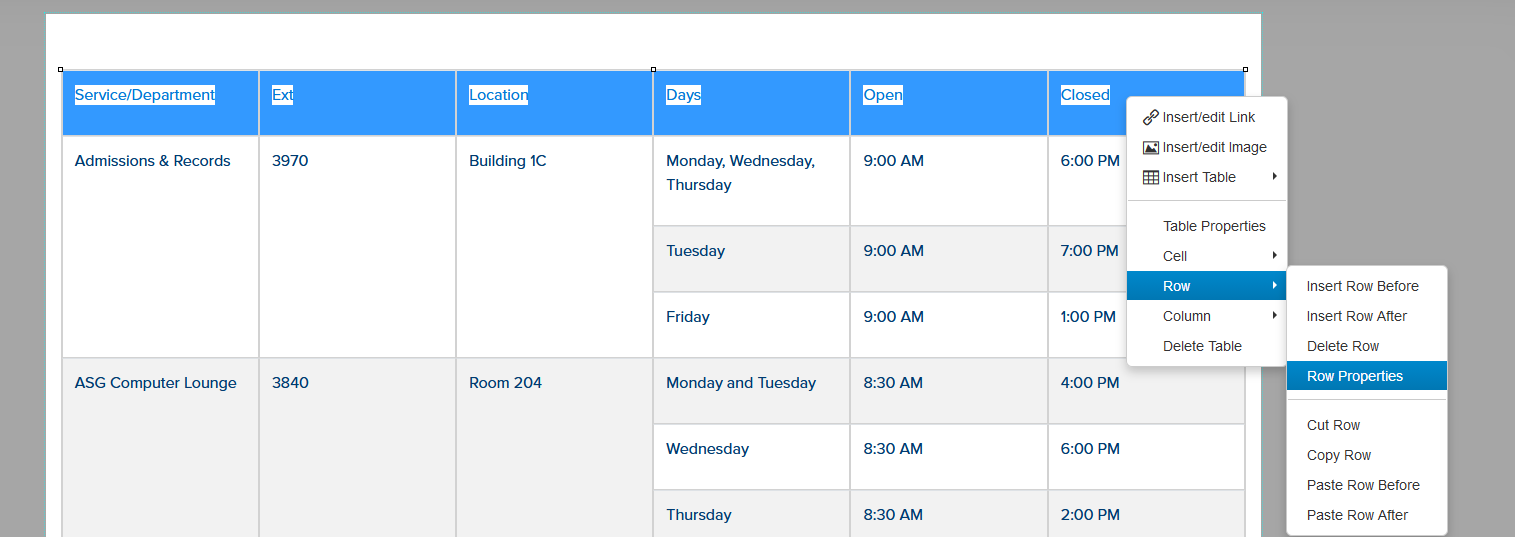
From the Row Properties window, set the Row type to Header.
Step 6: Set a Table Style
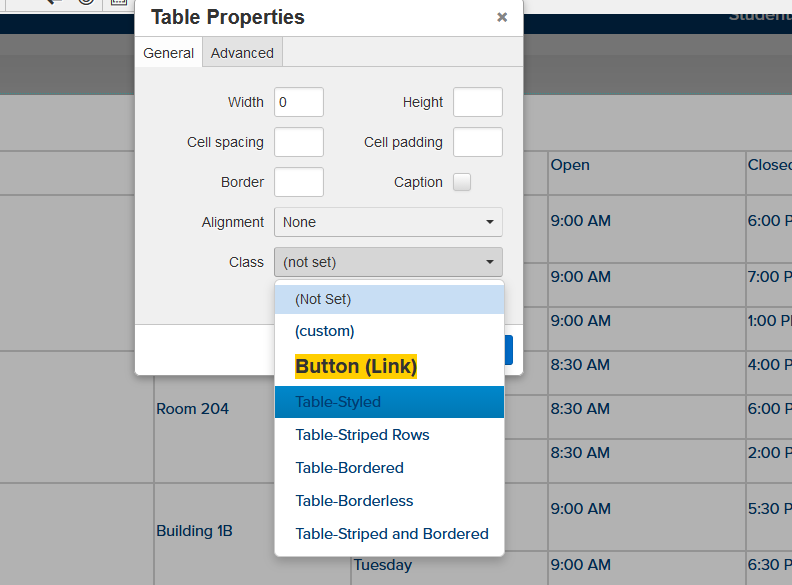
To add borders, alternating row shading, etc., styles have been created that can be applied to website tables. First, right-click on the table and choose Table Properties.

DO NOT use any of the options (e.g., Cell spacing, Width, etc.) provided directly inside the Table Properties window. These options apply deprecated code that will keep pages from validating correctly. Instead, choose one of the predefined table classes under the class dropdown. They all start with the word "Table."