
 Resources
 Campus Life
 Just for you


 My Canyons
  Canvas
Moving Zoom Recordings to OneDrive
Beginning on October 2, 2025, CCCTechConnect will begin deleting old recordings stored in Zoom. The initial deletion will be of videos created prior to July 31, 2024 and future deletions will follow the schedule below. If you have recordings stored in Zoom that you would like to keep, the recordings will need to be downloaded and saved to OneDrive.
Deletion Schedule:
- October 2, 2025: Recordings created prior to July 31, 2024, will be deleted.
- July 1, 2026: Recordings from August 1, 2024, through June 30, 2025, will be deleted.
- July 1, 2027: Recordings from July 1, 2025, to June 30, 2026, will be deleted.
- July 1, 2028: Recordings from July 1, 202, through June 30, 2027, will be deleted.
- The sequence of intervals will continue each year.
How to Save Zoom Recordings to OneDrive:
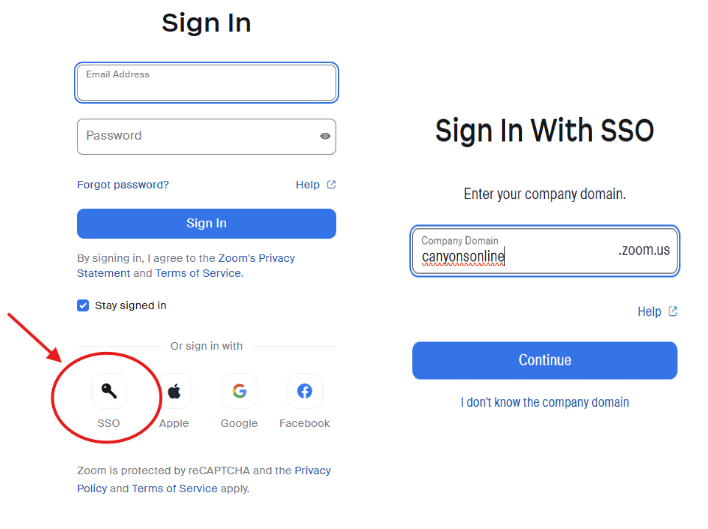
Step 1: Log in to the Zoom Web Portal
Go to https://zoom.us/signin and log in using SSO (Single Sign-On). Click on 'SSO' as shown in the image below and enter "canyonsonline" as the company domain.
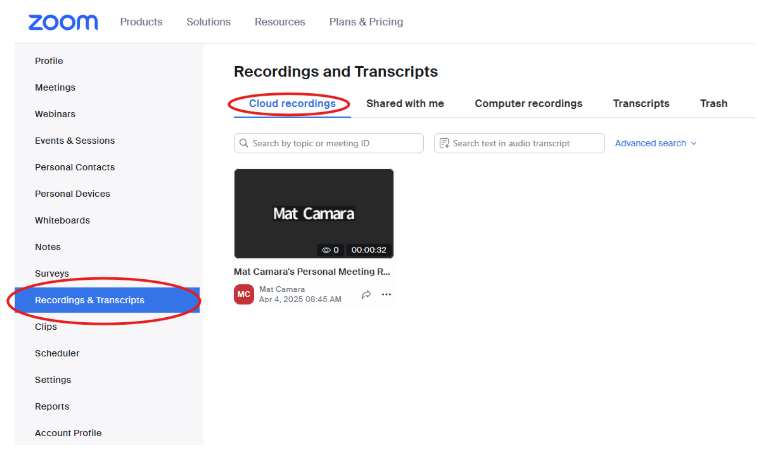
Step 2: Navigate to Your Recordings
Click on 'Recordings & Transcripts' in the left-hand menu. Under 'Cloud Recordings', you'll see your recorded meetings.
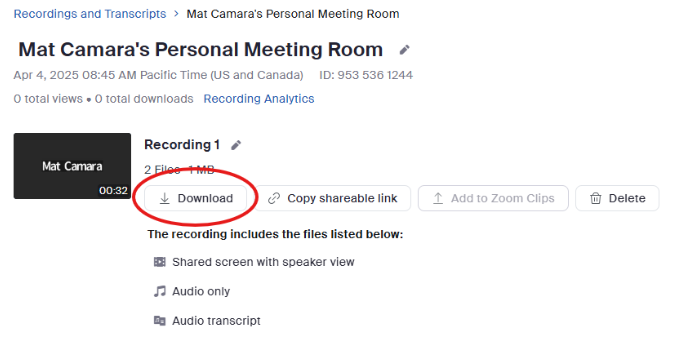
Step 3: Download the Recording
Click the meeting topic to view files. Click the download icon to save the video.
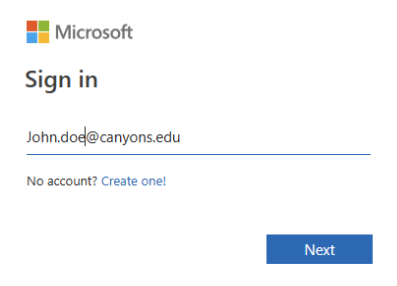
Step 4: Open Your OneDrive
Go to https://onedrive.live.com and sign in with your work account.
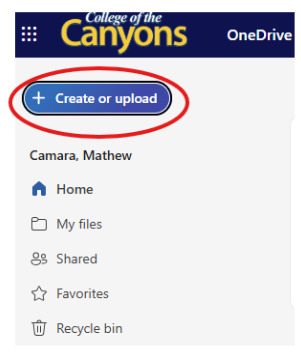
Step 5: Upload the Recording to OneDrive
- In OneDrive, click create or upload in the upper left.
- Select the zoom video file you want to upload and click open.
Done!
Your Zoom recording is now saved in OneDrive and can be accessed or shared easily.
View Tutorial: Moving Recordings from Zoom to OneDrive
Captioning for Instructional Videos
If you plan to use any of your saved videos in your courses to share with students, you'll need to ensure they are accurately captioned. An easy way to caption videos is by saving them to Canvas Studio and using Studio's auto-captioning feature.
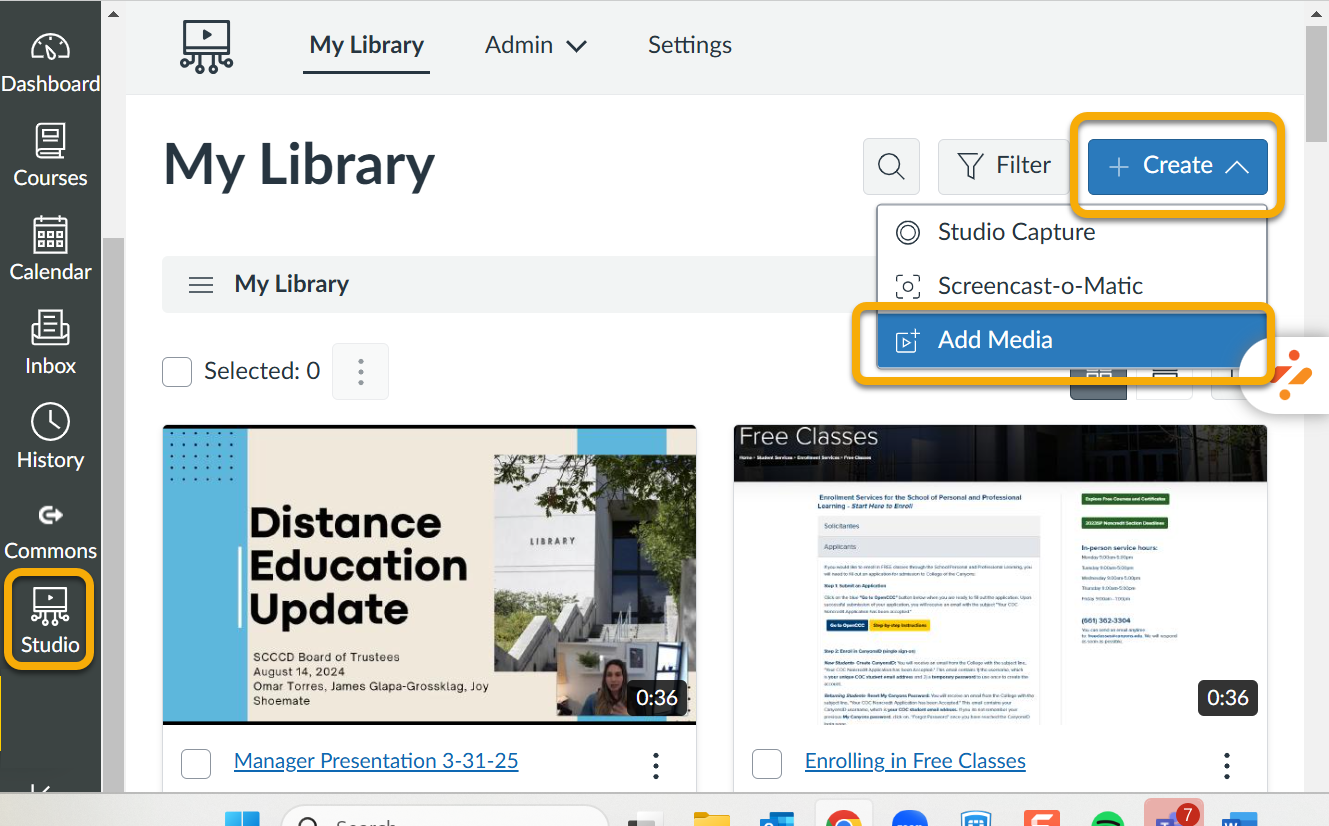
Step 1: Add your video to your Canvas Studio Library
From your Canvas Studio Library, click "Create" then "Add Media" and select the video file from your computer.
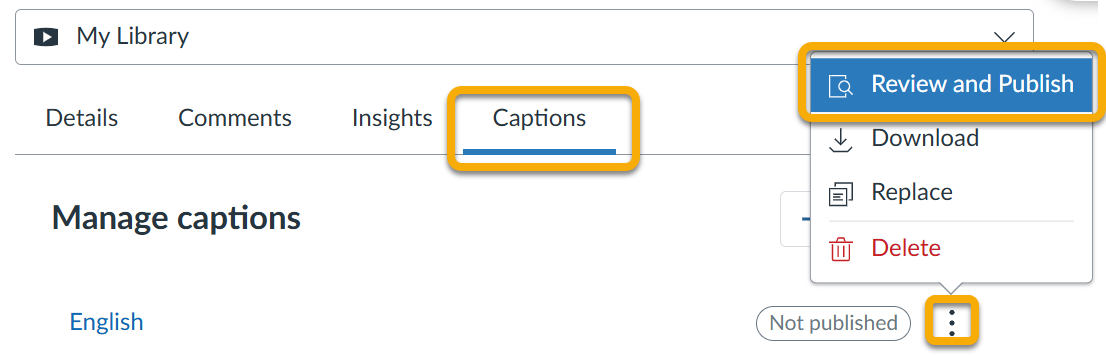
Step 2: Open your video in Studio and visit the "Captions" tab
Click the three dots menu and select "Review and Publish" to see and edit the auto-generated captions.
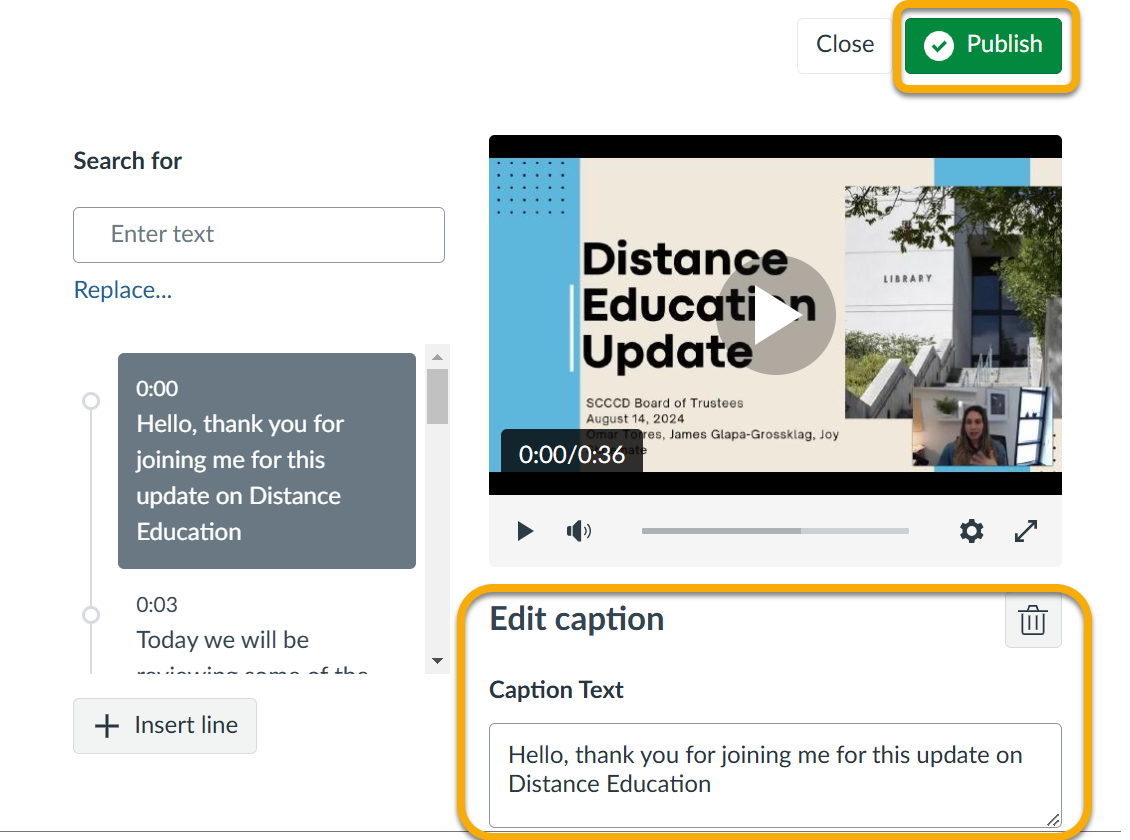
Step 3: Edit your captions as needed, then click "Publish" in the upper right corner to save your edits and make your captions available for viewing
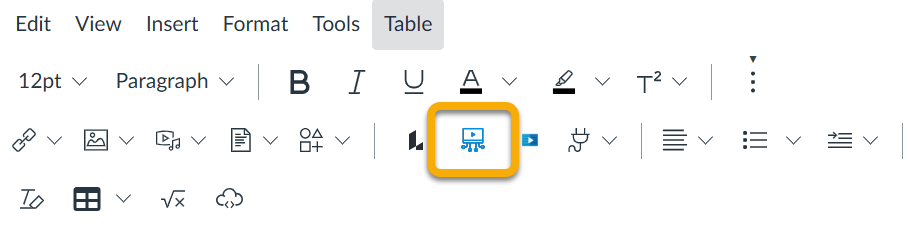
Step 4: Your captioned Canvas Studio video can now be embedded into any Canvas page by clicking the blue Studio icon in the Rich Content Editor.
View Tutorial: Captioning Videso in Canvas Studio
Please contact us if you have any questions or need support with this process.